In the first and second part of our series we learned what we want to achieve and created our first Outlook Add-in which displays our own custom canvas app. Yay! 🎉 Now we are going to make the whole experience dynamic. Until now the displayed canvas is static in a way, that it is not aware on which mail it is displayed. For that reason, we are going to transfer parameters from the Outlook to the canvas app. With this information you can make you canvas fully context aware!
🔂 How can we transfer context?
In the last part we added the canvas to our Outlook Add-in using an iFrame. When we want to make the app context aware we must check out which options canvas apps offer us in this regard. A great way Microsoft created for us is called “Deep Linking” in which we add parameters to the URL of the displayed canvas app. This can be done by adding parameters in the following format to your URL:
¶metername=parametervalue
You can access these parameters in your canvas by using the “Param” function. You can call this function with the parametername and if it is provided, the corresponding value will be returned.
Param("parametername")
See the following resources for more examples / documentation:
- Microsoft Blog “Deep Linking in PowerApps”
- Microsoft documentation “Launch and Param functions in Power Apps”
📫 Adding parameters in Outlook Add-in
Since we want to use URL parameters to provide those context variables to our canvas app, we must add them in our Outlook Add-in. For that we are going to edit the “MessageRead.js” file which is responsible for creating iFrame url. If you followed the steps in part 2 you should have code like this in there:
var appId = "PUT YOUR APP ID / GUID HERE";
$('#canvas-iframe').attr("src", "https://apps.powerapps.com/play/" + appId + "?source=iframe");
We want to add our parameters to the end of the url, for that we reason we will create a variable to hold all our parameters and add it like this:
var appId = "PUT YOUR APP ID / GUID HERE";
var parameters = "¶metername=parametervalue";
$('#canvas-iframe').attr("src", "https://apps.powerapps.com/play/" + appId + "?source=iframe" + parameters);
At this point we have created a static parameter with the name “parametername” which in canvas app would have the value “parametervalue”. Of course, we want to make this dynamic and here the Outlook Add-in has nice global variable we can use: Office.context.mailbox.item 💪 You can access it like this in your code and add it to our “parameters” variable:
var appId = "YOUR APP ID HERE";
var item = Office.context.mailbox.item;
var parameters = "&subject=" + item.subject;
$('#canvas-iframe').attr("src", "https://apps.powerapps.com/play/" + appId + "?source=iframe" + parameters);
Now in our canvas app we can use “Param(“subject”) to get the actual subject from the mail the canvas app displayed on 🔥
💫 What context is available?
Next to the “subject” a lot of other useful properties of the mail are accessible. You can find out about it in detail in the Microsoft documentation for it. In the table make sure to check the correct mode (column “Details by mode”), our Outlook add-in is by default in the mode “Message Read” which means it is only displayed when you read a mail. So only the attributes which have “Message Read” listed in the “Details by mode” column are available.
If we want to use multiple parameters to transfer to our canvas app, we can simply add them to our “parameters” variable:
var appId = "YOUR APP ID HERE";
var item = Office.context.mailbox.item;
var parameters =
  "&subject=" + item.subject +
  "&dateTimeReceived" + item.dateTimeCreated;
$('#canvas-iframe').attr("src", "https://apps.powerapps.com/play/" + appId + "?source=iframe" + parameters);
Some of them like “From” do not return a simple value type like date or string, but rather an object. In this case “EmailAddressDetails”. These data types are also documented by Microsoft, so can find the details by clicking on the name in the documentation. In this case we can access details like “displayName” and “emailAddress”.
This is what your code can look like in the end, but you can add whatever parameters you need.
var appId = "YOUR APP ID HERE";
var item = Office.context.mailbox.item;
var parameters =
  "&mailid=" + item.itemId +
  "&from=" + item.from.emailAddress +
  "&fromname=" + item.from.displayName +
  "&subject=" + item.subject +
  "&dateTimeReceived" + item.dateTimeCreated;
$('#canvas-iframe').attr("src", "https://apps.powerapps.com/play/" + appId + "?source=iframe" + parameters);
🎨 Using the parameters in our canvas app
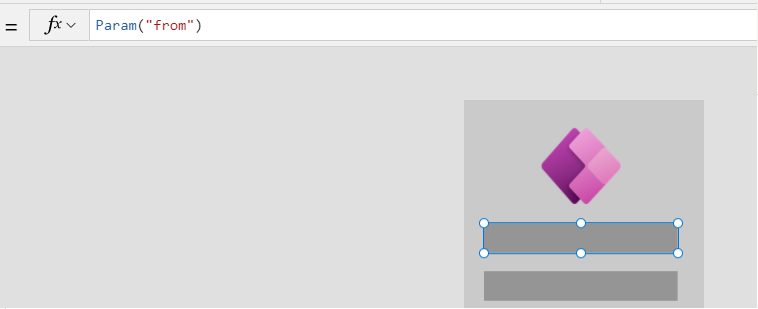
Now that we have added the parameters to the canvas app url, we can use them in the app with the function “Param”. I’m using Param(“from”) to display the sender and Param(“subject”) for the subject. Always remember, that those parameters must be exact ones (case-sensitiv!) you used in your Outlook add-in.
Power Apps canvas editor:
Outlook Add-in displayed:
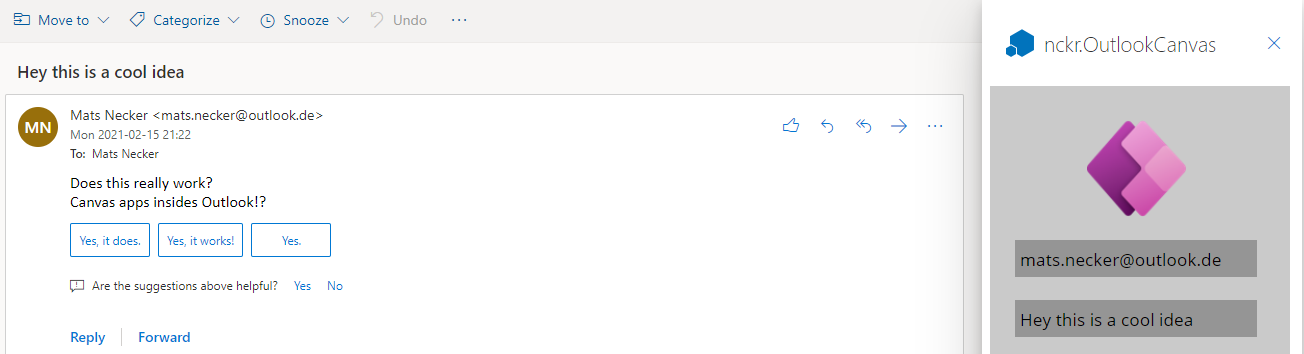
Now we have created a context-aware canvas app, which can use the provided information for the mail it is displayed on. Oh, and it works on your desktop, phone and in the browser. Cool isn’t it!? 🚀
🔥 Next steps
Go try it out! 🙂
If you have any questions or ideas about this, please let me know! If think there are a lot of awesome possibilities hidden in this, so I am pretty excited to see what you all come up with!
Also, I uploaded example Outlook add-in to Github, you can check it out here.
You find all details about the series in this overview post Canvas in Outlook 🎨📫